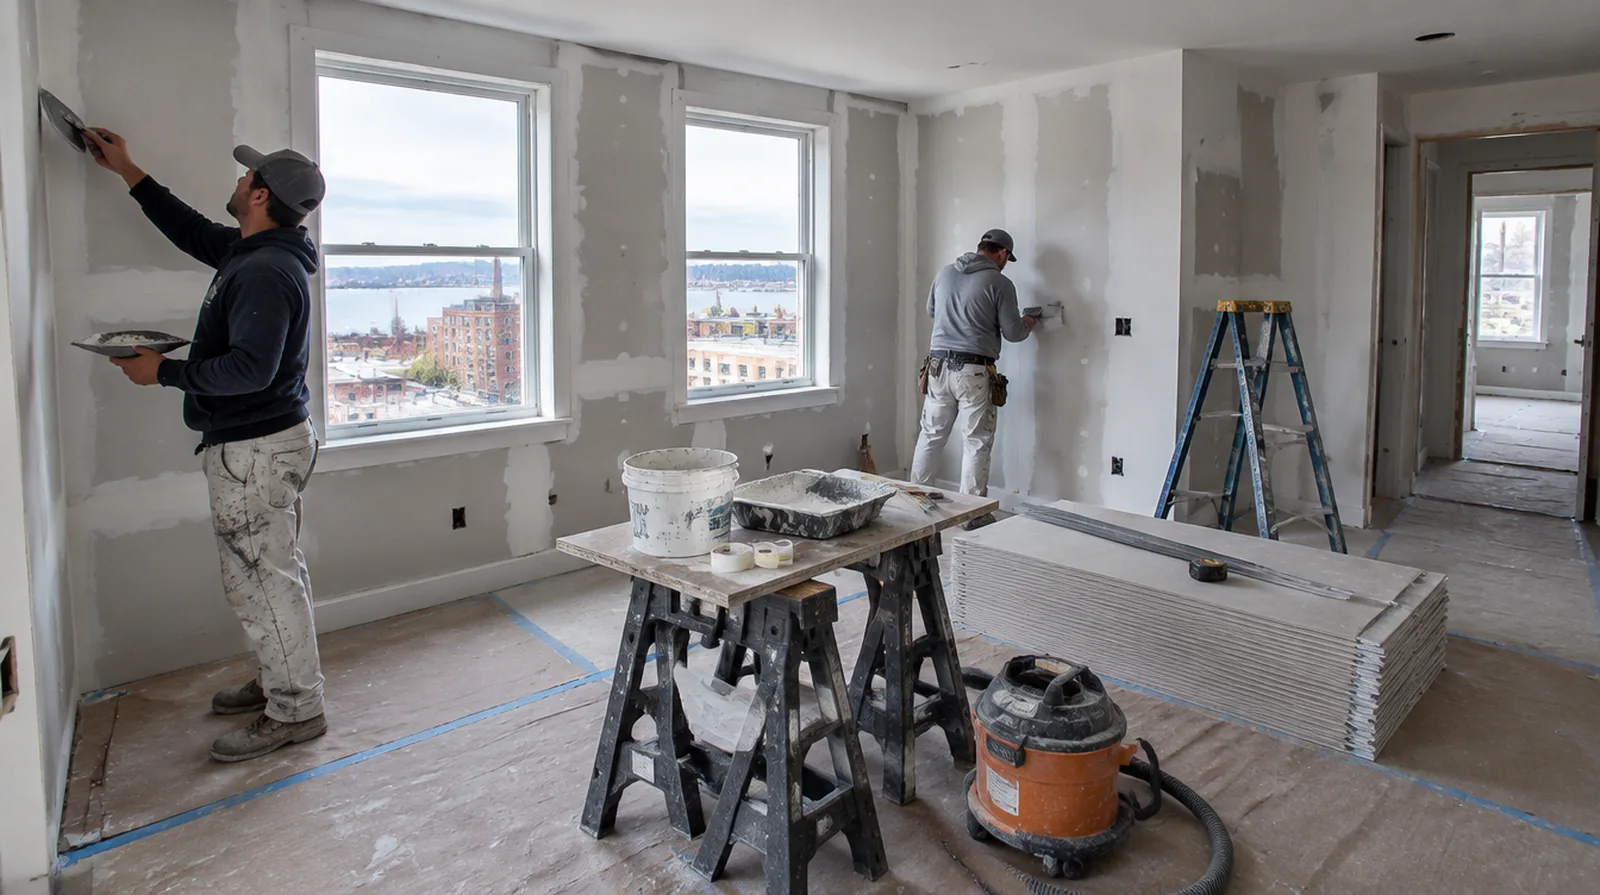
Protect adjacent surfaces
Small wall repairs can still distribute fine dust through the space if protection is inadequate. The work plan should identify what needs moving and which room can remain in use. If the ceiling or wall includes fittings, identify the person responsible for removing and reinstalling each item before the work begins.
Handle small fastener marks
A bump over a fastener may reflect separation or movement at the panel support. Correct the fastening condition as needed before covering the mark with a new finishing coat. When painting is outside the proposal, describe the remaining decorative preparation clearly so another contractor can price that stage accurately.
Support the replacement
Larger openings need a fitted board patch secured to framing or suitable backing rather than a thick mound of compound. The replacement thickness of the board should match the original face so the joint can finish level. For an initial assessment from pictures, provide an overall room photograph and a detailed view of the defect so both context and scale are apparent.
Identify the cause
A dent from moving furniture calls for a distinct repair than a joint that repeatedly opens beside a door. Check whether the wall feels firm and whether the defect has changed since it first appeared. When more damage could be hidden, ask how any added scope will be documented before extra material is removed or replaced.
Reinforce panel seams
The connection between old board and a patch needs reinforcing joint treatment. Embed the chosen tape fully in its intended compound so the edges bond without bubbles. Where the quoted work stops before painting, request a clear description of what remains so the next decorating stage can be priced realistically.
Choose the patch boundary
Loose paper and crumbling gypsum must be removed until the surrounding panel can support a durable repair. A tidy rectangular cut often provides stronger backing than following an irregular broken edge. When the work area includes a doorway, check the clearance for panel movement as well as the amount of space available for finishing tools.
Build thin finishing coats
Shaping a repair through thinner coats gives more control than depositing all the material at once. Judge the previous layer only after it has dried enough for the next operation. If the problem developed after another renovation, explain which nearby materials or building systems changed before the damage became visible.
Prepare for primer
Fresh compound and existing painted drywall absorb coatings differently unless the repair receives suitable primer. Confirm whether the quote includes priming or ends with a sanded surface ready for the painter. For walls beside bright windows, review a dry sample from an oblique angle as well as looking straight at the repaired surface.
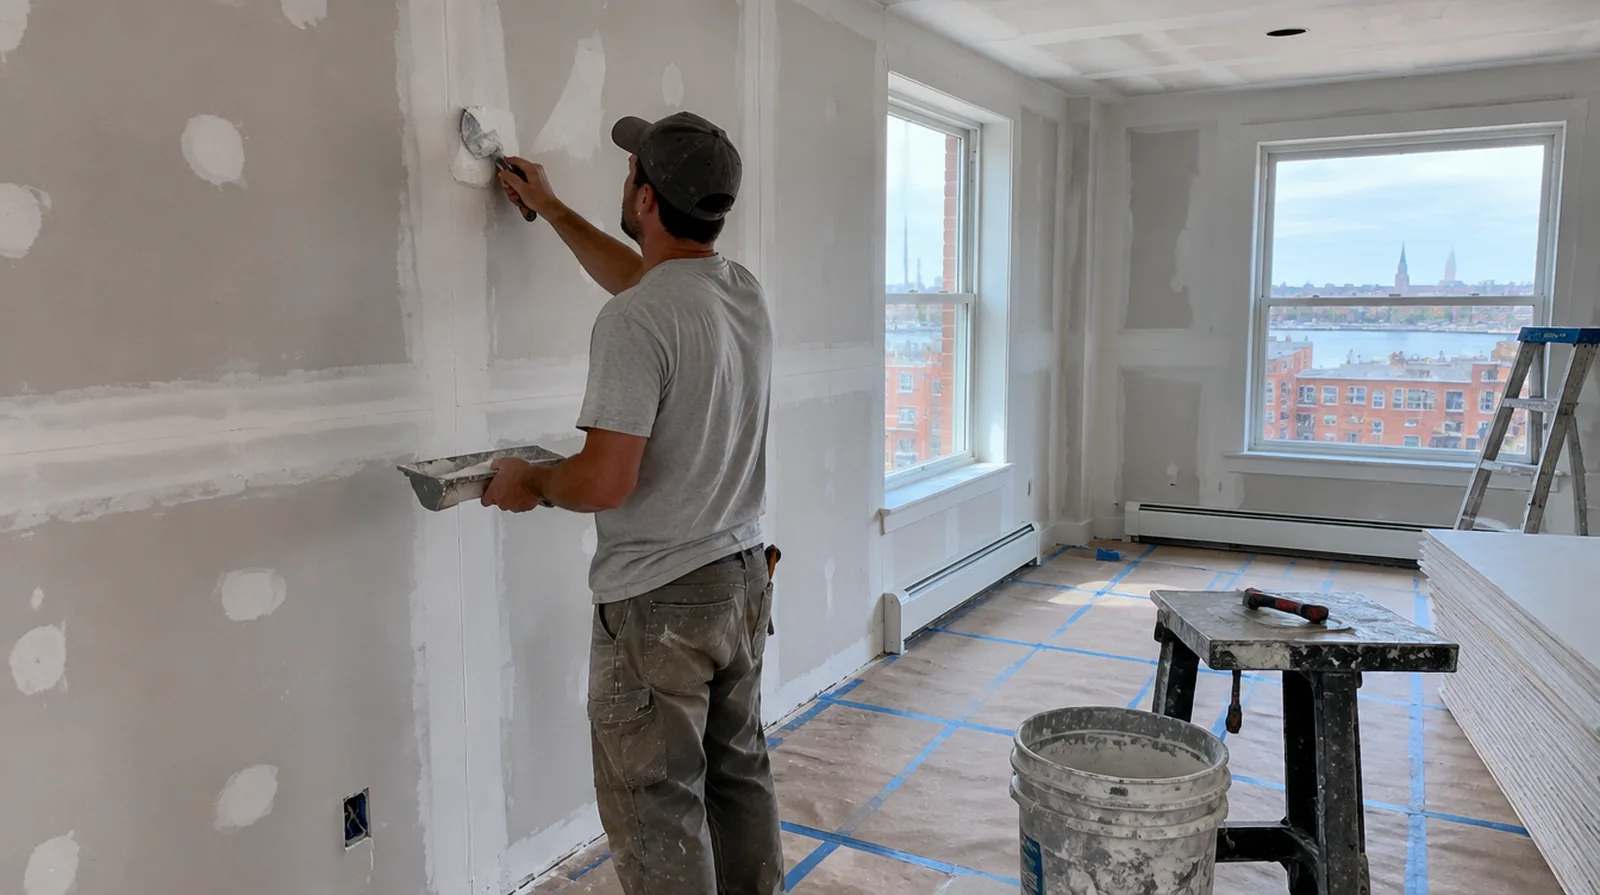
Document recurring movement
A crack that repeatedly reappears could need the cause investigated before more cosmetic work. State any moisture or movement concerns that another professional must resolve ahead of the drywall repair. For a room that stays in use, set a workable boundary around construction while retaining the access people need for normal daily activities.
Feather beyond the opening
Concealing a patch perimeter requires a tapered finishing area wider than the opening itself. The gradual transition is notably important where a window lights the surface from the side. Where a neat final edge matters, agree whether the finish ends against existing trim or whether that trim will be removed and replaced.
Project context in Fall River
Damp air off Mount Hope Bay slows drying in rooms with closed windows and older heating. Original plaster in older Fall River apartments usually needs a wider skim so a new patch sits flush.
Scope questions before finishing
If the ceiling or wall includes fittings, identify the person responsible for removing and reinstalling each item before the work begins.
When the decorative coating has been selected, tell the finisher its intended sheen and color while the surface preparation standard is still being agreed.
Where flooring is staying in place, agree on protective coverings and check that tools and material handling will not damage the visible finish.
For a distinctive existing pattern, retain a reference sample or detailed picture to make the matching discussion more specific.
For a surface that will receive wall covering, share the product requirements early so the finishing stage supports the planned decorative treatment.
At a repair beside an opening, allow clearance for moving board through the doorway and space to use the finishing tools effectively.
If the final paint is already chosen, share its sheen and color early because those choices influence how surface preparation is judged.
When painting is outside the proposal, describe the remaining decorative preparation clearly so another contractor can price that stage accurately.
If an independent painter completes decoration, agree the condition of the handed over surface and assign responsibility for small final corrections.
If materials must cross common building areas, plan the protection and access route so other occupants are not needlessly obstructed by deliveries.
For a limited patch requiring substantial setup, assess the complete package of access and protection instead of relating cost only to the opening size.
When a wall has repeated defects, keep a record of earlier repair attempts so a new assessment does not simply repeat an unsuccessful approach.
Explore the Fall River drywall overview for related options, or read the project planning information before arranging the next stage.
More planning details for Fall River
Carrying board to a third-floor unit up shared stairs can take longer than the repair itself, so plan the route carefully. Tenants on other floors may need the stairway clear at set times, which affects delivery and cleanup. A moisture-resistant board and a good primer help kitchen and bathroom ceilings stand up to condensation.