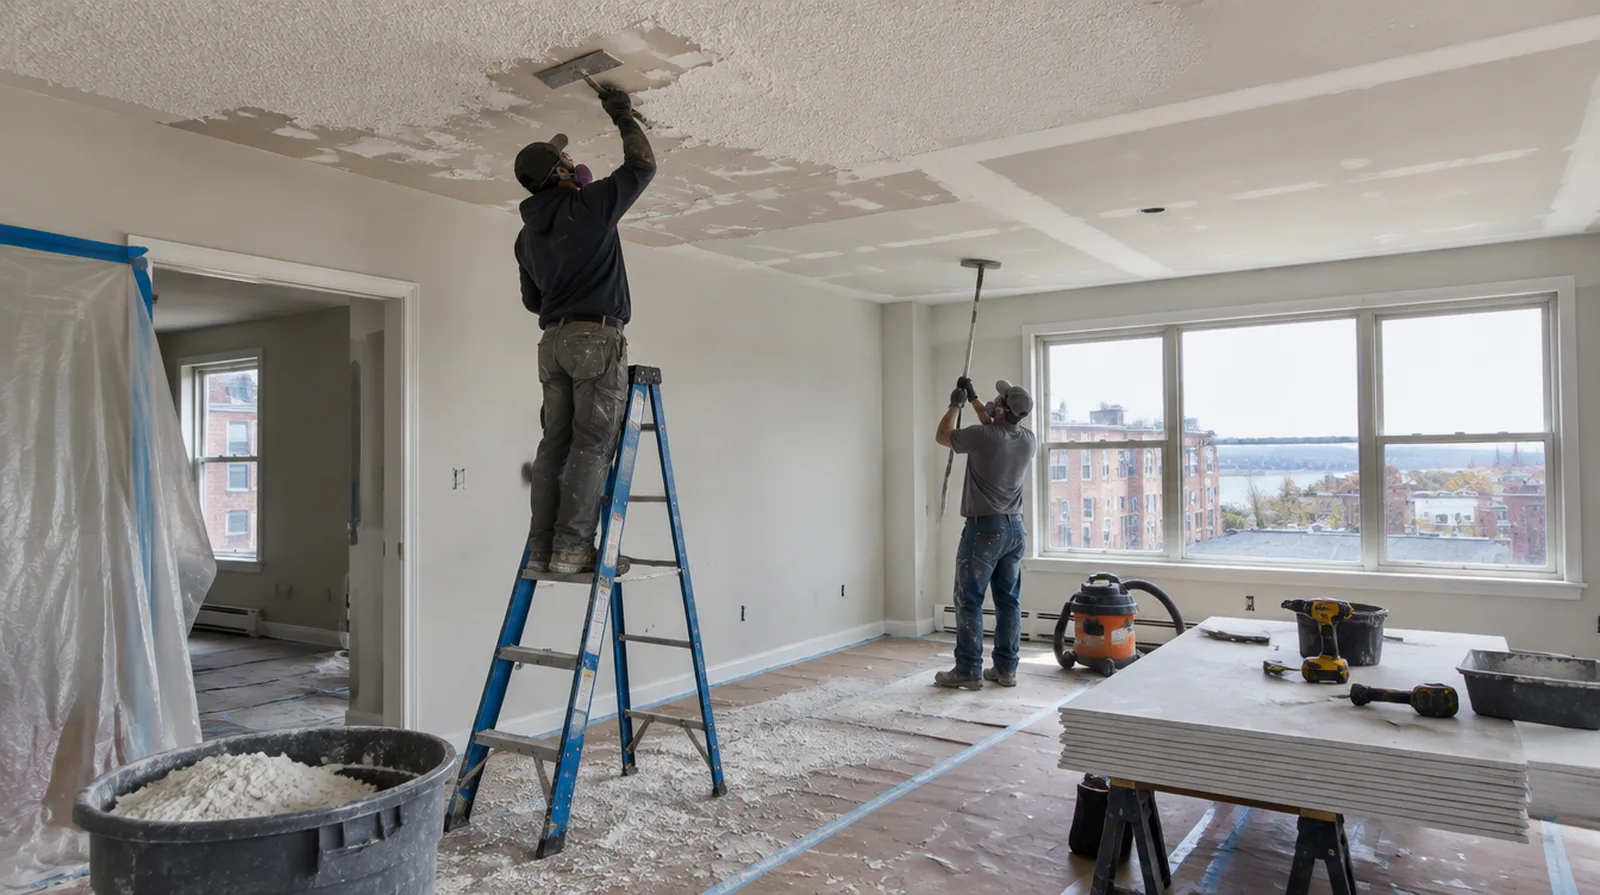
Plan fixture coordination
Ceiling fittings may require qualified disconnection or other separate handling before access is available. The scope should identify who disconnects and reinstalls them instead of leaving that responsibility unclear. When panel replacement exposes a cavity, resolve any required inspection before that opening is closed and the finishing work begins.
Establish material safety
Do not disturb an older ceiling texture until any material safety concerns have been evaluated. Where asbestos could be present, arrange suitable testing and follow the applicable process before removal begins. For an initial assessment from pictures, provide an overall room photograph and a detailed view of the defect so both context and scale are apparent.
Repair exposed imperfections
Scraping could reveal torn paper, dents and joint defects that need stabilization before a new finish. Talk through an allowance for those repairs before the decorative coating has been taken down. When a quote includes multiple visits, ask what happens during each stage and when the room needs to remain undisturbed between coats.
Account for side lighting
Windows and ceiling fixtures can expose shallow ridges once the heavy texture is gone. A wider skim or more extensive finishing may be appropriate for an original surface not built to remain smooth. If the finish paint is already chosen, share its sheen and color early because those choices influence how surface preparation is judged.
Separate specialist work
Confirmed hazardous material removal is not an ordinary drywall scraping task. A suitable specialist should define containment, handling and disposal before any finish restoration is planned. When photographs are used for an initial discussion, include a wide room view as well as a close view so scale and surrounding finishes are understandable.
Review ceiling condition
A textured ceiling can hide old repairs and seams that were never prepared for a smooth appearance. Allow for assessment and further finishing after safe removal exposes the original face. Where light reflects along the wall surface, inspect the complete plane instead of limiting the review to the edge immediately next to the repaired section.
Plan cleanup and reopening
Allow for debris removal, drying and decorating rather than assuming the space is complete immediately after scraping. Review the agreed surface condition and cleanup before returning the interior to normal use. For a tightly furnished room, plan temporary storage and the minimum working clearance before material is carried into the property.
Choose the final surface
The intended replacement finish should be selected before the removal and restoration work is priced. A new patterned finish and a flat smooth ceiling can need substantially different preparation. Where light reflects along the wall, inspect the complete plane instead of limiting the review to the edge immediately next to the repaired section.
Check for painted coatings
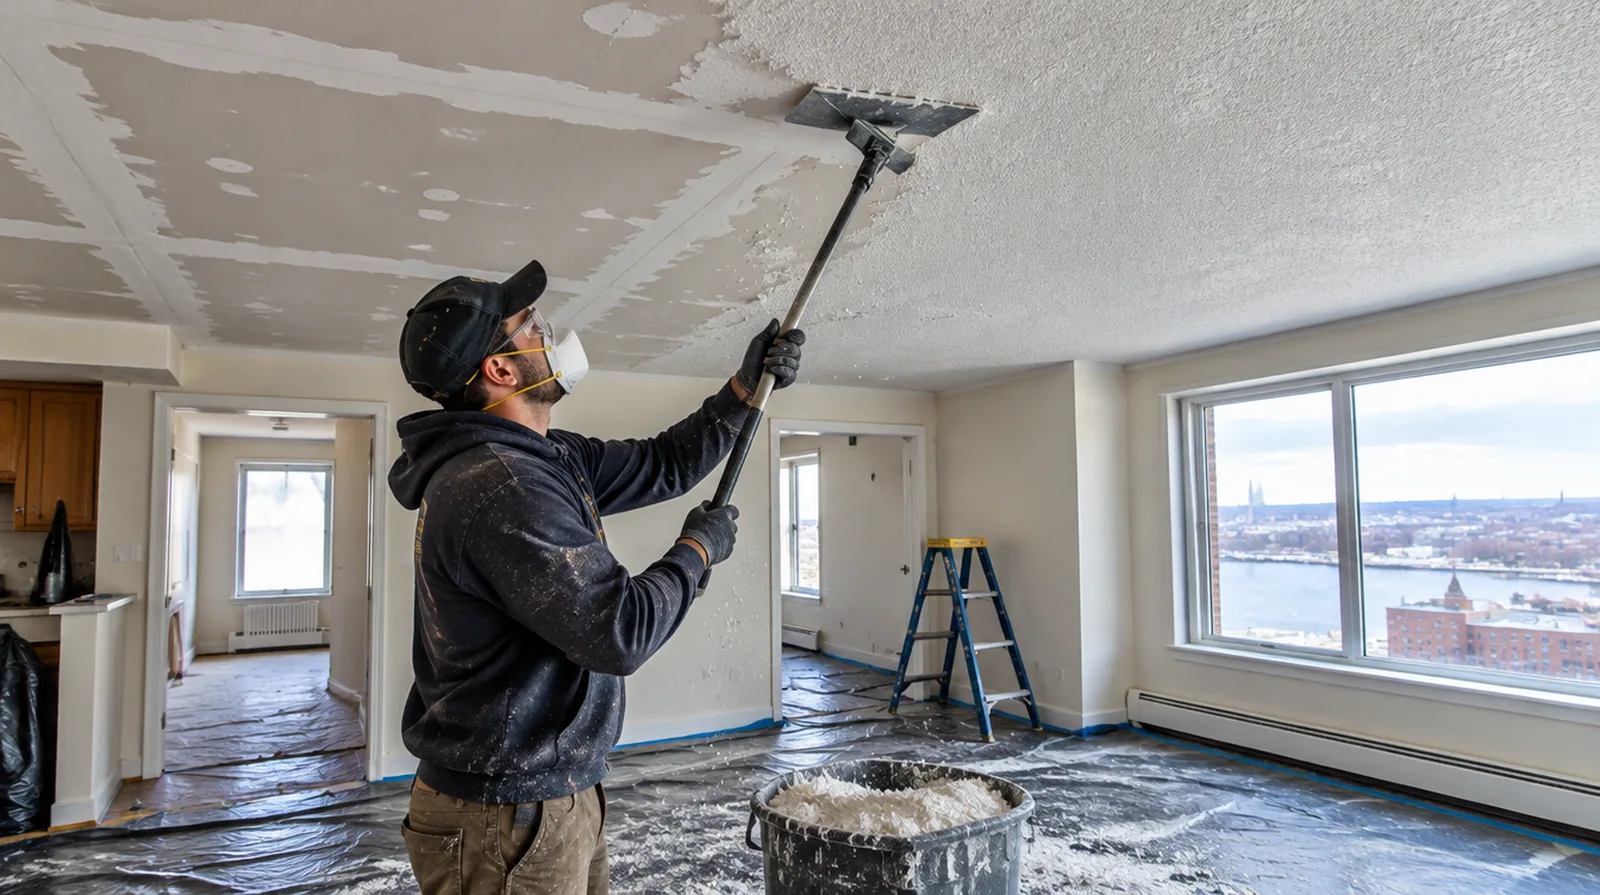
Previously painted popcorn texture may resist simple wetting and require a different removal approach. A small controlled assessment helps explain labor and potential damage to the supporting surface. For a room with restricted airflow, plan drying conditions alongside dust protection and the comfort of people occupying neighboring spaces.
Avoid unnecessary saturation
Avoid a process that introduces so much water that it damages the supporting gypsum. The assessment needs to consider how the current finish responds and what the substrate can tolerate. If a room has only limited ventilation, discuss how the finishing materials can dry without disrupting comfort or spreading dust elsewhere.
Project context in Fall River
Painting the entire ceiling after a repair usually blends better than trying to touch up an aged white surface. Damp air off Mount Hope Bay slows drying in rooms with closed windows and older heating.
Scope questions before finishing
Where light reflects along the wall, inspect the complete plane instead of limiting the review to the edge immediately next to the repaired section.
If materials must cross common building areas, plan the protection and access route so other occupants are not needlessly obstructed by deliveries.
If there is a fixed move in date, reserve sufficient time for the coating stages after drywall work instead of counting only the installation period.
When the same defect has returned, share information about previous repair methods so the next assessment can consider why they did not last.
At the handover inspection, review the finish from ordinary room positions using the lighting conditions that were agreed for the work.
For a project with several trades, agree which inspection or handover point must happen before the next person starts work.
For a wall receiving a decorative covering, provide its preparation requirements early sufficient for the drywall finish to support that product.
Where existing floors will remain, specify protective measures and review the path used by panels, equipment and finishing tools.
When panel replacement exposes a cavity, resolve any required inspection before that opening is closed and the finishing work begins.
When comparing competing estimates, make sure their protection, surface finish and disposal allowances describe equivalent work before comparing the final prices.
Where several contractors share the renovation, identify the inspection and handover milestones that determine when each following stage can proceed.
For a limited patch requiring substantial setup, assess the complete package of access and protection instead of relating cost only to the opening size.
Explore the Fall River drywall overview for related options, or read the project planning information before arranging the next stage.
More planning details for Fall River
In a Fall River triple-decker, a ceiling stain on the first floor often traces back to a bathroom two levels up. Tenants on other floors may need the stairway clear at set times, which affects delivery and cleanup. Converted mill spaces along the Quequechan River often pair brick walls with new partitions that meet at uneven edges.