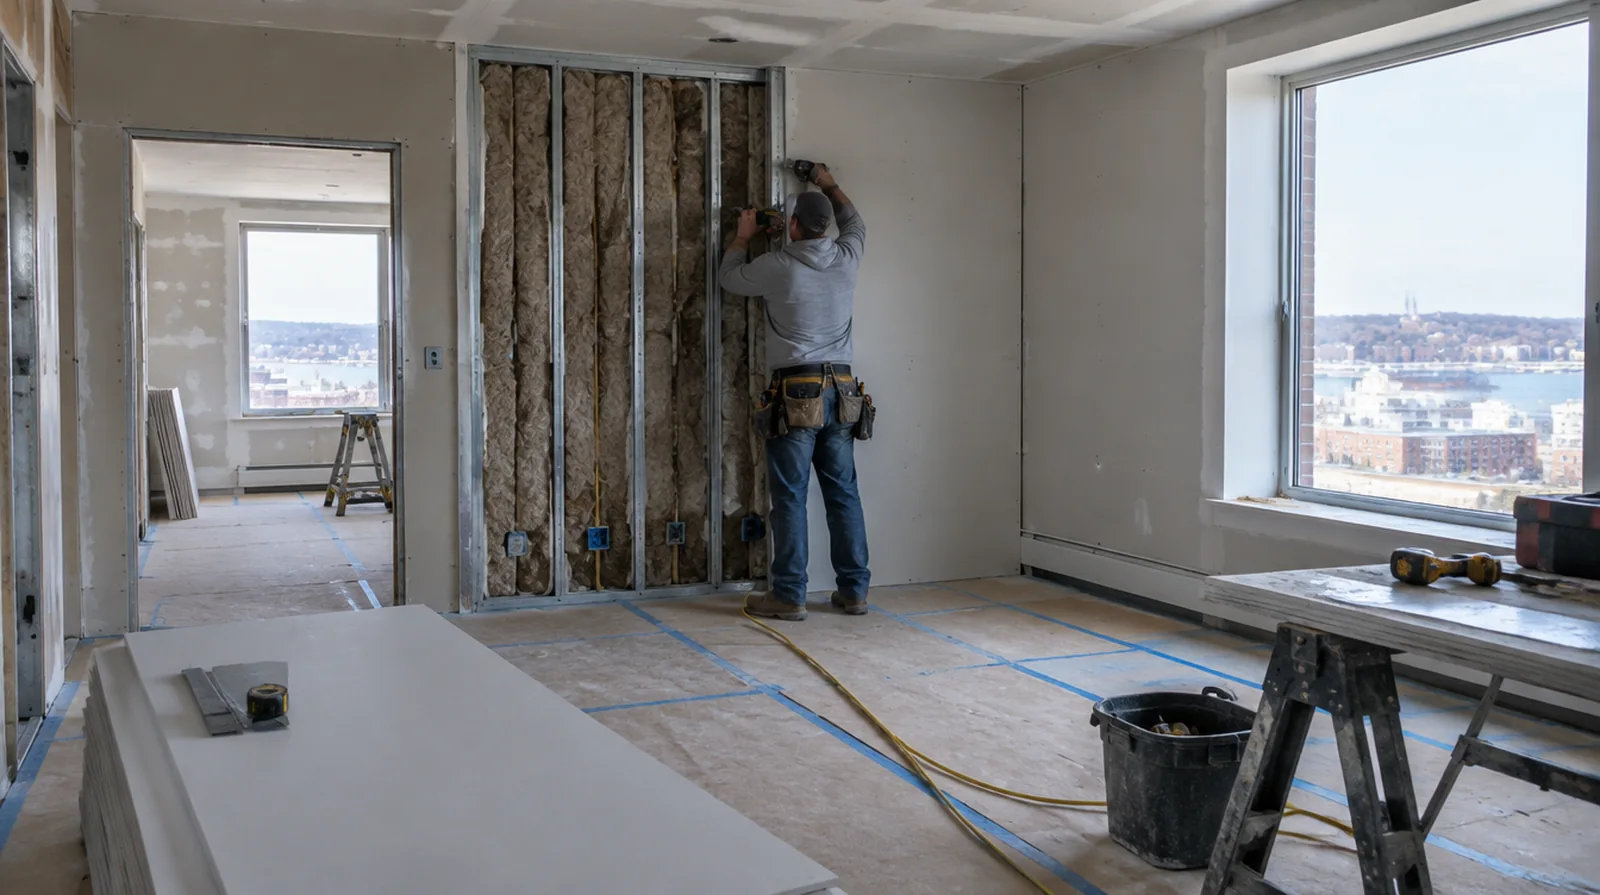
Finish the visible surface
Acoustic board still needs the suitable joint treatment and coating preparation. Complete that work without disturbing the details on which the sound control system depends. When the same defect has returned, share information about previous repair methods so the next assessment can consider why they did not last.
Coordinate electrical boxes
Opposing outlets and unsealed openings may create weak points in a separating wall. Electrical changes should be planned with the appropriate trade and within the required assembly details. For a room with restricted airflow, plan drying conditions alongside dust protection and the comfort of people occupying neighboring spaces.
Identify the noise path
Determine whether the main concern is airborne speech or vibration through the building structure. Different transmission paths call for differing assessments before a wall treatment is selected. For a repair that crosses several surfaces, measure the affected planes separately so the estimate can explain where each finishing treatment starts and stops.
Avoid rigid bridges
An unintended rigid connection can reduce the value of a resiliently supported surface. Installation details should be checked against the selected system instead of relying on appearance alone. When the protected room includes a doorway, check the clearance for panel movement as well as the amount of space available for finishing tools.
Address air leakage
Small gaps around edges and service penetrations can undermine an otherwise substantial wall. Appropriate acoustic sealing belongs in the plan wherever the selected assembly requires it. When concealed damage is possible, establish how additional findings and any proposed removal will be recorded before the scope changes.
Respect fire requirements
Sound control modifications must not undermine required fire separation. Verify suitable board, sealing and connection details before changing the original assembly. For a tightly furnished room, plan temporary storage and the minimum working clearance before material is carried into the property.
Review the whole assembly
Board layers, framing, insulation and edge details all contribute to acoustic behavior. Select a suitable tested or documented wall system rather than combining unrelated marketing specifications. At an edge beside built in furniture, state whether the obstruction will be removed or whether finishing stops at the section that can be reached.
Consider cavity access
A wall already open for remodeling provides options that an intact occupied room may not. The estimate should explain what needs removal and how the interior will be restored afterward. At a repair beside an opening, allow clearance for moving board through the doorway and space to use the finishing tools effectively.
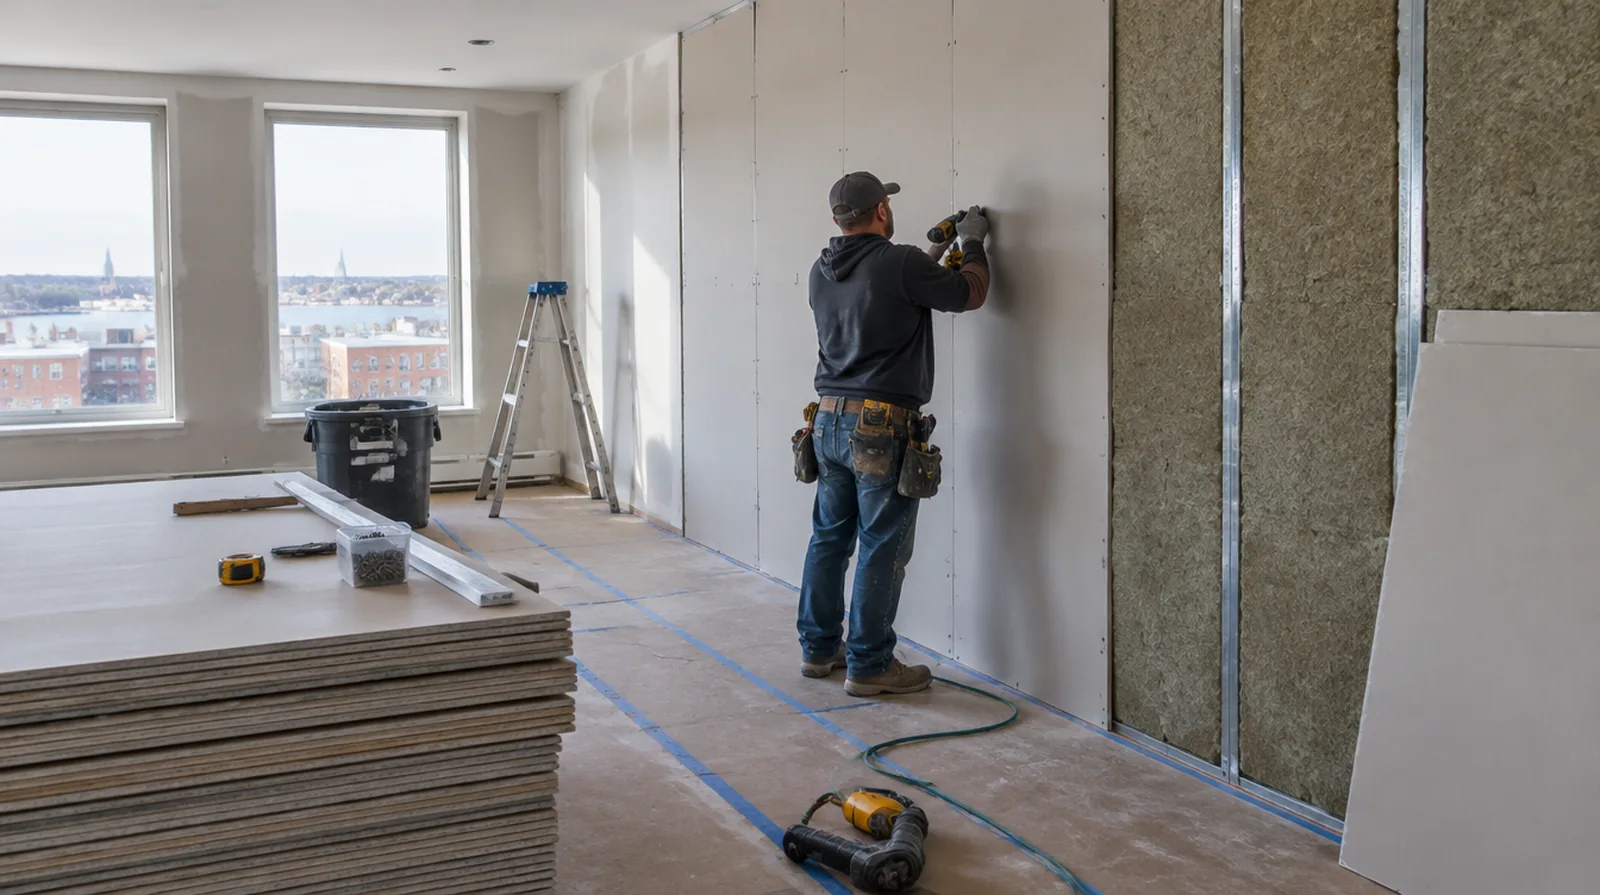
Set realistic goals
A heavier wall may not solve a complaint if sound still passes through openings and nearby junctions. Explain improvement goals at assembly level instead of promising that one product will make the space silent. For an older repair with no clear history, describe when the mark first appeared and whether it has changed through more than one season.
Evaluate added thickness
Adding layers changes the relationship between the wall face, fittings and adjoining trim. Allow for outlet, doorway and edge adjustments so the sound control work has a complete visible finish. When comparing competing estimates, make sure their protection, surface finish and disposal allowances describe equivalent work before comparing the final prices.
Project context in Fall River
Damp air off Mount Hope Bay slows drying in rooms with closed windows and older heating. Tenants on other floors may need the stairway clear at set times, which affects delivery and cleanup.
Scope questions before finishing
For an initial assessment from pictures, provide an overall room photograph and a detailed view of the defect so both context and scale are apparent.
For a room with restricted airflow, plan drying conditions alongside dust protection and the comfort of people occupying neighboring spaces.
If the ceiling or wall includes fittings, identify the person responsible for removing and reinstalling each item before the work begins.
Where a finished perimeter is prominent, decide whether trim stays in position or is removed before agreeing how the new surface meets that edge.
Where occupants have dust sensitivity concerns, agree containment and cleaning measures before settling the way the room will be staged.
Before comparing two proposals, check that both include the same protection, finishing and cleanup boundaries rather than comparing totals alone.
For a room that stays in use, set a workable boundary around construction while retaining the access people need for normal daily activities.
For work spread across different planes, record their dimensions separately and describe the boundary of the treatment on each surface.
When comparing competing estimates, make sure their protection, surface finish and disposal allowances describe equivalent work before comparing the final prices.
If occupancy must resume on a certain day, include the later primer and paint stages in the timetable as well as drywall installation and finishing.
Where the wall meets fixed furniture, clarify whether removal is included or whether the finish will terminate at the accessible edge.
When the history of a repair is uncertain, note when it became visible and whether its appearance has altered across distinct seasons.
Explore the Fall River drywall overview for related options, or read the project planning information before arranging the next stage.
More planning details for Fall River
Converted mill spaces along the Quequechan River often pair brick walls with new partitions that meet at uneven edges. In a Fall River triple-decker, a ceiling stain on the first floor often traces back to a bathroom two levels up. Original plaster in older Fall River apartments usually needs a wider skim so a new patch sits flush.